
在AI Studio 平台训练好的PPYOLOE权重使用FastDeploy 在本地部署
PPYOLOE目标检测训练框架使用说明
参考博客:https://blog.csdn.net/qq_41251963/article/details/129667684
AI Studio 地址:https://aistudio.baidu.com/aistudio/projectdetail/5756078?contributionType=1
FastDeploy 环境安装
FastDeploy GitHub地址:https://github.com/PaddlePaddle/FastDeploy
参考readme文件,进行快速安装。安装前提:有Python环境,最好使用Anaconda。
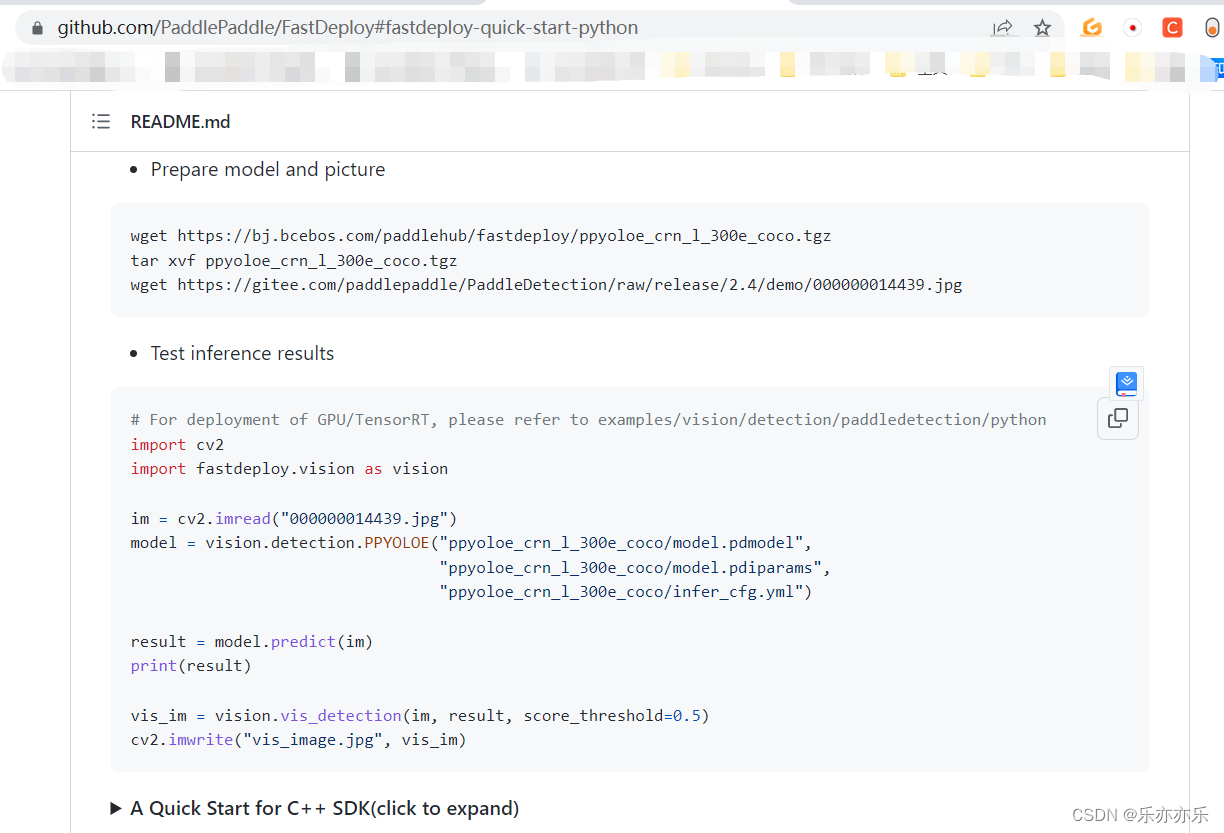
进入 https://github.com/PaddlePaddle/FastDeploy#fastdeploy-quick-start-python

如果机器有显卡,可以使用GPU安装,本文演示使用CPU。
创建虚拟环境
conda create -n fastdeploy python=3.8
激活虚拟环境
conda activate fastdeploy

快速安装
1.Install FastDeploy SDK with only CPU support
pip install fastdeploy-python -f https://www.paddlepaddle.org.cn/whl/fastdeploy.html
2. Install FastDeploy SDK with both CPU and GPU support
pip install fastdeploy-gpu-python -f https://www.paddlepaddle.org.cn/whl/fastdeploy.html
本文使用CPU作为演示

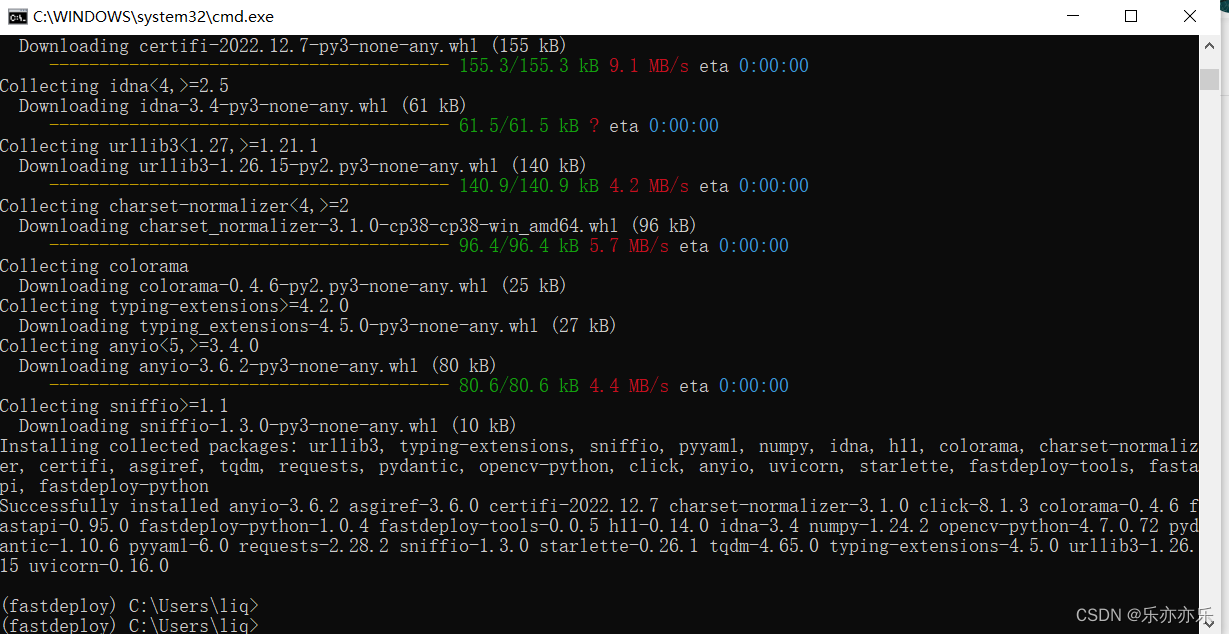
安装成功
下载AI Studio平台训练的PPYOLOE模型权重

打包当前文件夹,或者进入目录直接下载到本地。下载好的文件如下图所示(4个)。

使用快速测试来测试模型是否可用
detect.py
# For deployment of GPU/TensorRT, please refer to examples/vision/detection/paddledetection/python
import cv2
import fastdeploy.vision as visionim = cv2.imread("1679146167823.jpg")
model = vision.detection.PPYOLOE("part_model/model.pdmodel","part_model/model.pdiparams","part_model/infer_cfg.yml")result = model.predict(im)
print(result)vis_im = vision.vis_detection(im, result, score_threshold=0.5)
cv2.imwrite("vis_image.jpg", vis_im)
执行python detect.py 即可(由于安装CPU版本,这里默认使用OPenVINO进行推理)

其他后端推理
可参考github中readme:https://github.com/PaddlePaddle/FastDeploy/tree/develop/examples/vision/detection/paddledetection
选择ppyoloe的python 部署:
https://github.com/PaddlePaddle/FastDeploy/blob/develop/examples/vision/detection/paddledetection/python/infer_ppyoloe.py

注意修改parse_arguments函数中的参数,
--model_dir 导出模型所在路径
--image 要预测图像的路径
--device 使用cpu还是gpu
--use_trt 是否使用tensorrt 推理(如果安装的是GPU环境,建议使用,推理速度更快)
import cv2
import osimport fastdeploy as fddef parse_arguments():import argparseimport astparser = argparse.ArgumentParser()parser.add_argument("--model_dir",default="part_model",help="Path of PaddleDetection model directory")parser.add_argument("--image", default='1679146167823.jpg', help="Path of test image file.")parser.add_argument("--device",type=str,default='cpu',help="Type of inference device, support 'kunlunxin', 'cpu' or 'gpu'.")parser.add_argument("--use_trt",type=ast.literal_eval,default=False,help="Wether to use tensorrt.")return parser.parse_args()def build_option(args):option = fd.RuntimeOption()if args.device.lower() == "kunlunxin":option.use_kunlunxin()if args.device.lower() == "ascend":option.use_ascend()if args.device.lower() == "gpu":option.use_gpu()if args.use_trt:option.use_trt_backend()return optionargs = parse_arguments()if args.model_dir is None:model_dir = fd.download_model(name='ppyoloe_crn_l_300e_coco')
else:model_dir = args.model_dirmodel_file = os.path.join(model_dir, "model.pdmodel")
params_file = os.path.join(model_dir, "model.pdiparams")
config_file = os.path.join(model_dir, "infer_cfg.yml")# 配置runtime,加载模型
runtime_option = build_option(args)
model = fd.vision.detection.PPYOLOE(model_file, params_file, config_file, runtime_option=runtime_option)# 预测图片检测结果
if args.image is None:image = fd.utils.get_detection_test_image()
else:image = args.image
im = cv2.imread(image)
result = model.predict(im)
print(result)# 预测结果可视化
vis_im = fd.vision.vis_detection(im, result, score_threshold=0.5)
cv2.imwrite("visualized_result.jpg", vis_im)
print("Visualized result save in ./visualized_result.jpg")
运行成功

本文简单对FastDeploy的使用进行简单的介绍,FastDeploy支持多种模型(分类,检测,语义分割,OCR等)推理。详细使用参加github仓库官方文档。
请尝试将单张图片推理更改为视频推理